When things get really slow, GoPro time lapse is a good way to speed things up and give your GoPro videos a little spice.
As you’ll learn in this guide, using your GoPro to shoot a beautiful time-lapse video can be easy and fun once you learn some key rules about settings, shooting, and editing a time lapse video.
What is a Time Lapse
A time lapse is when images are shot at a specifically-timed interval — for example, once every five seconds — and played back at an increased or normal speed to produce a shorter lapse of time.
The image below is a perfect example of time lapse. It shows a number of photos shot at a set time interval within the span of a full day, from sun up to sun down.

Best Scenarios to Shoot Time Lapse
Time lapse can also be explained as the opposite of slow motion, which is used to capture faster footage to replay them at lower speeds. Think gravity-defying sports replays or beautiful nature sequences with soaring birds. Time lapse is a handy technique used to capture shots over long periods of time when elements in your scene are moving slowly.
Here are some of the most popular time lapse scenarios:

GoPro Time Lapse Settings
GoPro offers 3 main Time Lapse modes: Time Lapse Video, Time Lapse Photo and Night Lapse Photo.
This is how each mode works:

Time Lapse Video
GoPro shoots and processes all time lapse images and produces the resulting time lapse video completely in camera. Your final output file will be in video format.
 Pros
Pros
- Quick and easy solution to shoot time lapse
- No need to sit with you GoPro for longer shoots
- Get a cookie, do your laundry, wash the dog or do any other activity while shooting
- Minimal post-production editing required
Cons
- Limited user control over time lapse settings
- Protune option not available
- Can’t adjust exposure and ISO settings mid-time lapse shoot
How to set time lapse video:
- Press the Mode button (on the side) until you arrive on the Time Lapse mode screen
- Tap on the Time Lapse Photo icon on the bottom left corner of the touch display to access the sub-menu.
- Select Time Lapse Video mode.
Your GoPro display should now look something like this:

Remember: Before you begin shooting, select values for your footage resolution, image interval and field of view (FOV).
Pro Tip: If your GoPro version offers 4k resolution, shooting time lapse in that quality will give you more editing freedom in post-production. Effects like panning and zooming in time lapse look amazing in 4k and some lower resolutions.
Time Lapse Photo
In this setting, your GoPro takes many photos at a set interval and outputs JPEG or RAW image files. However, unlike in Time Lapse Video mode, you have to download your image files and join them together in post-production to get a time lapse video effect.

Pros
- more control over quality in post-production
- RAW format is available with interval settings of five seconds or more
- expands opportunities for creativity in post-production
- Protune enabled for access to Exposure, ISO and other settings
Cons
- downloading to a computer and working in post-production requires more time and effort (and a steeper learning curve if you’re a beginner)
Night Lapse Photo
As implied by the name of the setting, Night Lapse Photo enables longer exposure times for time lapse shots in low light conditions.

When you select the Night Time Lapse setting, you can choose your longer shutter speed depending on your surrounding available light, as is pictured below. For variable conditions, select the Auto setting to give your GoPro control.

How to Shoot a GoPro Timelapse
GoPro owners know that creating time lapse videos is pretty easy. It’s a few button presses and display taps, point and shoot. Right? Pretty darn cool!
But when you get home and watch the clip, you’ll probably hear the voice in your head asking questions like:
“Why is this so shaky?”
or
“How do I get my time lapse videos to look like those masterpieces on YouTube?”
…and so on.
Here are some key tips to get you on the road to shooting enviable time-lapse videos:
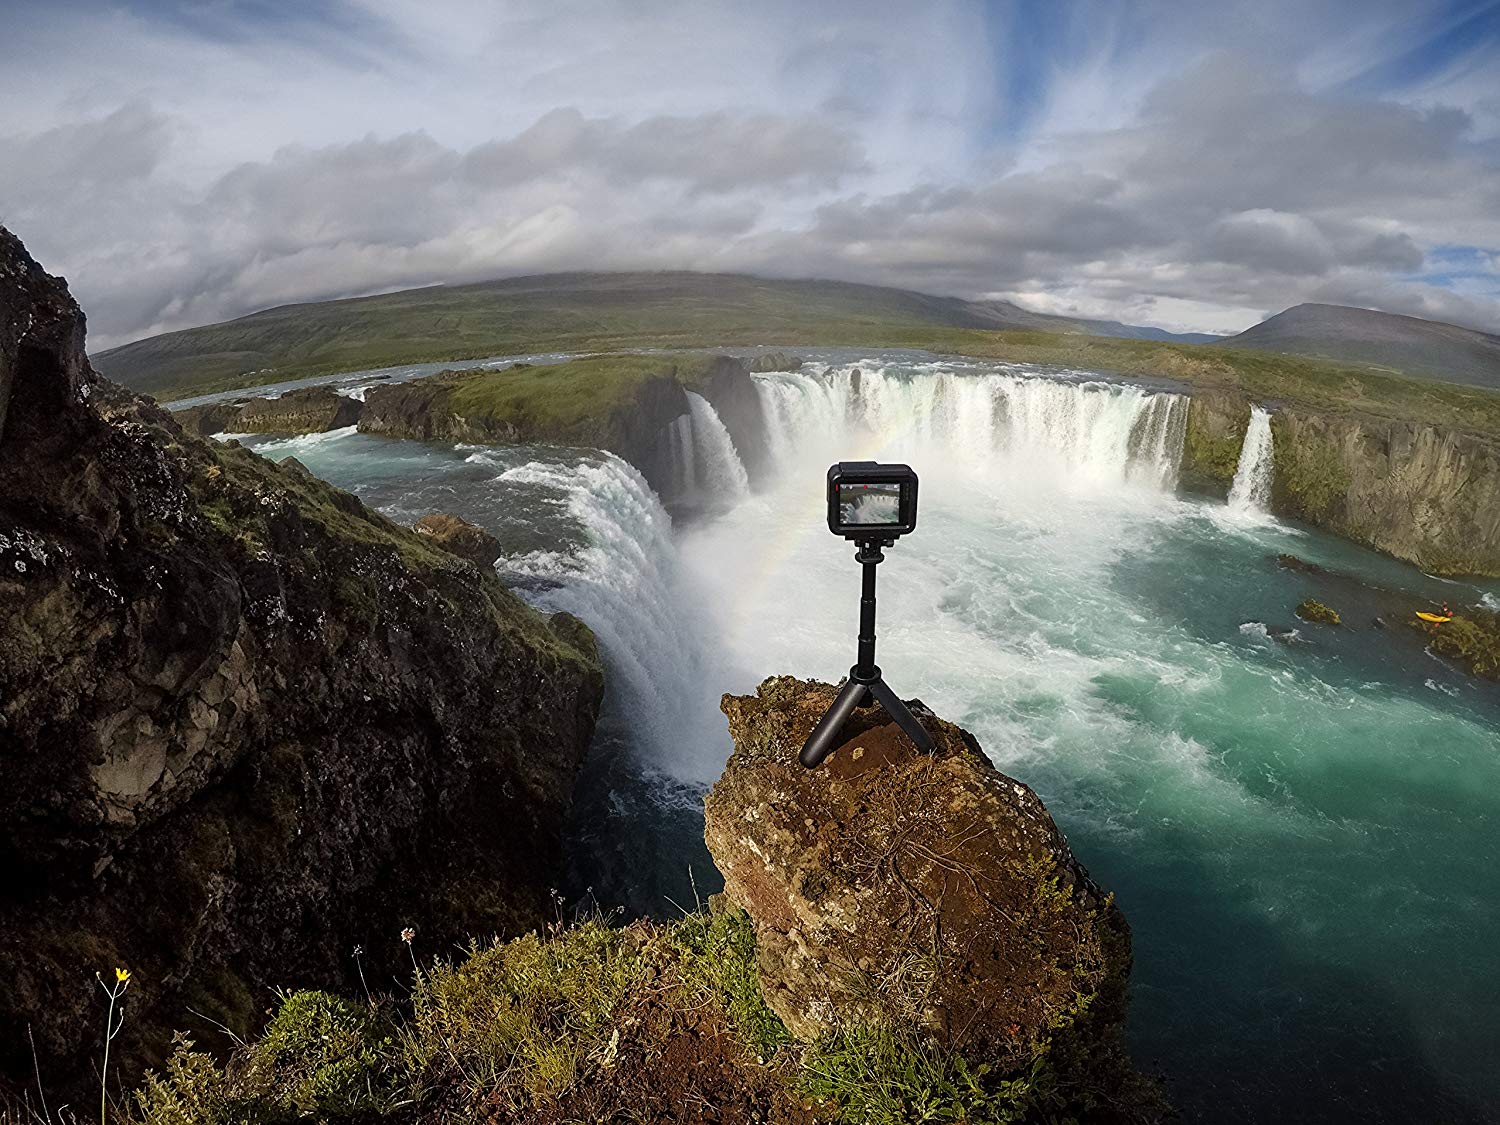
Stabilize Your Time Lapse
When shooting in time lapse always place your GoPro on an immovable surface or a tripod. Of course, in windy weather conditions, a solid surface or a tripod can only do so much. In this situation, planning and timing are your friends.
Product recommendation: Try the GoPro Shorty (pictured below). It’s a compact tripod that converts into an extendable stick or grip.

- The pocket-size Shorty (4.6in, 11.7cm) is the perfect partner for on-the-go...
- Extend Shorty up to 8.9in (22.7cm) for group shots, selfies and other hard-to-reach...
- Prop Shorty up on any level surface with its built-in tripod
Power up!
By its very nature, time lapse photography can quickly drain your GoPro’s battery. Check your battery level and charge it up well before your shoot.
For much longer, worry-free time lapse shoots, consider adding an external power source to your bag of tricks and keep it connected throughout.
Here’s the average battery life of the latest GoPro Hero 10 Black using different resolutions.
- 5.3K/60FPS: 56 minutes
- 4K/120FPS: 50 minutes
- 4K/60FPS: 76 minutes
- 1080p/30FPS: 115 minutes
As you can see, simply shooting in a higher resolution will drain your GoPro’s battery in an hour or less. If this is your plan, consider investing a modest amount on an external GoPro-compatible power housing (pictured below). The extra power for the longer footage is well worth every dollar.
Product recommendation for all GoPro models (from GoPro HERO 3+ to GoPro HERO 12):
Suptig 5200mAh Waterproof Power Bank
No products found.

Get the Interval Time Right
Interval time is a key factor producing time lapse videos. The time between your shots will vary depending on the subject of your time lapse. For example, your GoPro manual recommends a two-second interval time setting for a busy street corner. But for shooting cloud movement or other outdoor scenes it recommends adjusting the interval time range from five to 10 seconds.
Here are some other interval time suggestions in your GoPro manual:
| Interval | Activity |
|---|---|
| 0.5-2 seconds | Surfing, biking or other sport |
| 2 seconds | Busy street corner |
| 5-10 seconds | Clouds or outdoor scenes with long durations |
| 10-60 seconds | Lengthy activities, such as construction or artwork |
Bigger and Faster SD Card
Time lapse photography uses a lot of memory card space – especially if you shoot in RAW format.
Consider investing in an SD Card with more memory than you think you’ll need. But once you’ve been using it, remember to free up some space before your next shoot. Almost nothing is more frustrating than realizing mid-shoot that your SD Card is full.
Before you buy that 256GB SD Card, did you know that they also come in different speeds? The “speed” referred to here is the number of megabytes per second your captured image will be written on the card. A faster SD Card is best used when shooting in RAW format and/or in 4k, 1080p or other high resolutions.

Remember: Shooting in Time Lapse Photo mode is basically like shooting in bursts. If it takes too long to write an image onto your SD Card, you won’t get the desired time lapse effect.
Also remember to check if a particular SD Card is compatible with your GoPro model. You can check in your GoPro Manual.
Product recommendation: These are the Top three tested and approved SD cards suggested by GoPro:
SanDisk Extreme 32GB (Good price for value)
No products found.
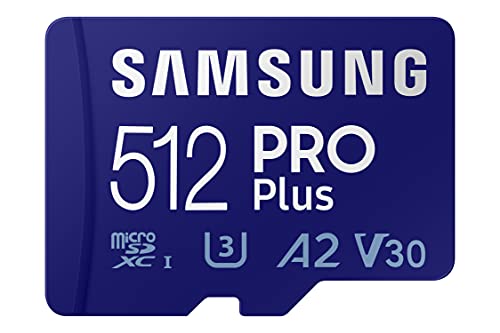
Samsung Pro Plus 512GB 160MB/s (Fast! Perfect for 4k 60fps)
- YOUR NEW GO-TO CARD: Capture seamless 4K videos¹ on your compatible phone or drone...
- TAKE YOUR BURST SHOT: Stunningly fast U3, Class10 rated read/write speeds up to...
- ADD SPACE, KEEP IT ALL: Huge capacities of 128GB, 256GB and 512GB give you plenty of...
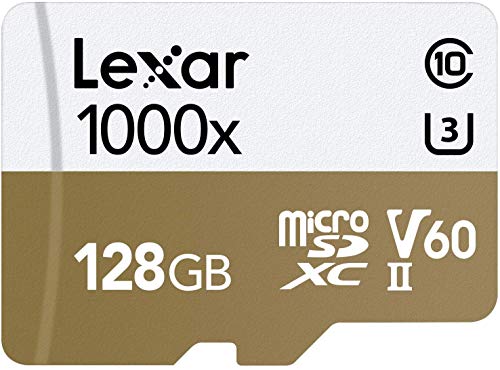
Lexar Professional 1000x 128GB 150MB/s (For Pro Heroes)
- High-speed performance—leverages UHS-II technology (U3) for a read transfer speed...
- Premium memory solution for sports camcorders, tablets, and smartphones
- Designed for high-speed capture of high-quality images and extended lengths of 1080p...
Shoot in Time Lapse Photo Mode
You read that correctly. Learn Photo mode and you will win. Because, unlike the automated Time Lapse Video mode, Photo mode gives you more freedom and creativity.
For example, if you’re shooting a sunset or sunrise time lapse, for example, you’re better off in Photo mode because at the darker phases your Video mode shots will be too dark or too bright.
Remember: Exposure settings are very limited in GoPro’s Time Lapse Video mode. Adjustments can only be made before or after a shoot.
Not the desired time lapse effect

Very much the desired effect in shifting light situations:

Suggested Time Lapse Photo Mode Settings:
- Keep ISO at a minimum of 100 for best overall quality images.
- Select a higher ISO setting, but no more than 800, in darker periods throughout your variable lighting. Setting the ISO too high will create noise your image shadows.
- Shoot in RAW format when you can (minimum five seconds interval).
How to Edit a Time Lapse
Post-production editing: This is where the real magic happens. There are two ways to edit GoPro footage: Mobile or Mac/PC.
The Quick Way: GoPro Quick App on Smartphone or Tablet
Simple and easy, but with limited functionality. It is a mobile app, after all.
Quik App is great for editing on the go and to share on the fly with your family and friends. You can cut and join different video clips with your time lapse and you can mix in some music. You’ll need to shoot in Time Lapse Video mode to edit with the app.
Here’s how to start:
1. Download the GoPro Quik App from your app store
2. Turn on your phone’s Bluetooth and Wifi.
3. Enable your GoPro’s Wireless connections: on the HERO 5 and HERO 6 display, swipe from top to bottom and click on “Connections”, then “Wireless connections: ON”.
4. Open the Quik App and begin the magic (editing): Add your time lapse video to a new project, choose a theme and enjoy the editing process.
The Pro Way: PC or Mac editing software
It’s called the Pro Way because you can create at pro levels. You can add effects, zooms, pans and cut your time lapse to the rhythm of a music track. By editing your time lapse project with professional editing software, you can step up your editing game and it goes without saying that your time lapse videos will look way better.

Free editing software (PC/Mac)
iMovie (for Mac only) – [Download]
Simple video editing application for Mac users. Easy to learn for making simple videos.
Windows Movie Maker (for Windows only) – [Download]
Same simple functionality as iMovie but for Windows.
DaVinci Resolve (free professional software) – [Download]
Learn and use this application if you are serious about video editing. This is actually professional software with a wide array of functionality to satisfy your creative needs.
Lightworks – [Download]
It was rated the best free editing application for Windows and Mac in 2018.
Professional Editing Software (not free)
Final Cut Pro (for Mac only) – [Download]
The granddaddy of professional editing software. A classic, and a must have if you use Mac and intend to get serious about video editing.
Adobe Premiere – [Download]
It’s up there with Final Cut Pro as one of the most used editing applications.
LRTimelapse (time lapse editing, keyframing, grading and rendering) – [Download]
Unlike most other video editing applications, like the group listed above, this one is specifically used for time lapse production. If that’s your calling in life, you should definitely consider giving LRTimelapse a try.
Time Lapse in Motion: Hyperlapse
This is where things get interesting, and super dynamic. Hyperlapse is a time lapse filming technique used by photographers to add motion to time lapse video. So instead of keeping your GoPro immobile on a hard surface or attached to a tripod, you take a time lapse shot and then move the camera to another location.
This is what good hyperlapse looks like:

7 Tips for creating a Hyperlapse with a GoPro
- Set your camera to Time Lapse mode
- Choose an interval that is long enough to give you time to move the camera a few steps before the next shot. A three to five-second interval is sufficient.
- Prior to beginning, pre-plan your shots and their corresponding positions to ensure all camera positions are accessible.
- Attach your GoPro to a tripod and start shooting the time lapse sequence.
- Move the camera by a few steps to a different position during the interval times.
- Take some reference points on your GoPro display framing the subject and making sure that every time you move or reposition the camera, it’s angled consistently throughout. Remember, the more accurate you frame your subject at every shot, the smoother your hyperlapse will appear. This is a key tip.
- If you shot in Time Lapse Photo mode, import your photo sequence into an editing application, join all the shots taken to make a supercool hyperlapse video.
Top 3 Time Lapse Accessories
These 3 accessories will change your time lapse experience:
Tripod
Built with aluminum, the Manfrotto Compact Tripod is a lightweight tripod for GoPro. It’s extendable up to a height of 61” or 155 cm. The price of this tripod is highly competitive. It can support your GoPro as well as a smartphone, compact, and mirrorless cameras.
Manfrotto Compact Action Tripod
No products found.
360° Time Lapse mount
The Movo Photo MTP2000 Panoramic 360° is the simplest auto panning/rotation mount that allows you to capture stunning 360° time lapse panning shots. We use it often with GoPros and our Sony mirrorless cameras.
Movo Photo MTP2000 Panoramic 360°
No products found.
Do You Still Need a Gimbal?
I used to recommend the GoPro Karma Grip here, but it’s been discontinued for years now. The good news: you don’t need a gimbal for time lapses anymore. TimeWarp with HyperSmooth on the recent Hero models gives you steady hyperlapse shots straight out of camera — just walk slowly, keep your subject in the frame, and let the stabilization do the work. And because long time lapses fill cards fast, make sure you’re running an SD card that can keep up.
Final Words
So, follow all the tips and techniques mentioned in this tutorial to have the best experience while shooting time lapses using your GoPro. Also, I recommend that you use all the useful accessories that would aid you to create everlasting memories of your trips and adventures.
Thanks for reading!
I hope this step-by-step beginner’s guide regarding GoPro Time Lapse was informative for you and would help you create some awesome timelapses of your adventures using your GoPro camera 🙂
Sharing is Caring ❤️
If you found this article useful, please share it on social media with your family and friends!
Related Articles:
- GoPro Settings Explained: Definitive Guide [+ Cheat sheet ]
- 15 Best (Cheap) Cameras for Time-Lapse Video & Photo
- GoPro Protune: Everything You Need to Know to Master Your Advanced Settings
- GoPro Slow Motion: Learning to Use Slow Motion
- GoPro Low Light Tips: Learn How to Improve Your Low Light Footage
- GoPro Editing: Step by Step Beginner Guide + Best Free Editing Software
This actually answered my downside, thanks!