Choosing the right settings for night footage with the GoPro Hero 13 is essential, as like most action cameras, it doesn’t perform its best in low-light conditions.
In this guide, I’ll walk you through the night settings I use to capture clear, high-quality videos in low-light situations.
I’ll also share some simple tricks I rely on to boost image quality, regardless of the lighting.
The best part? These tips and settings aren’t just for the Hero 13—they work great on most recents GoPros!
TOMADA RÁPIDA
- Turn off or limit Hypersmooth, as it can cause artifacts at night.
- Visite ISO as low as possible to minimize noise in your footage.
- Lower frame rates (24fps-60fps) help brighten up your image in low light.
- Find my secret low-light settings at the end of this post!
First, watch this video where I explain my favorite Ajustes nocturnos de GoPro:

GoPro Hero 13: Best Night Video Settings
Shooting in low light? No worries! The GoPro Hero 13 has you covered, but you’ll need the right settings to make sure your footage looks smooth and clear in the dark.
Here are my go-to settings for capturing top-quality night videos:
- Resolución/FPS: 4K/24fps (Lower frame rates help gather more light)
- Lente: SuperView (Wider shots, less noise)
- hipersuave: Off (Helps avoid weird artifacts at night)
- Tasa de bits: High (Better image quality)
- Velocidad de obturación: 1/48s (Perfect for 24fps)
- Balance de blancos: Auto (Let GoPro handle it)
- ISO Min: 100 (Keeps things clean)
- ISO Max: 800 (Avoids too much grain)
- Nitidez: Medium (For more natural-looking footage)
Let’s break it down so you know why these settings work:
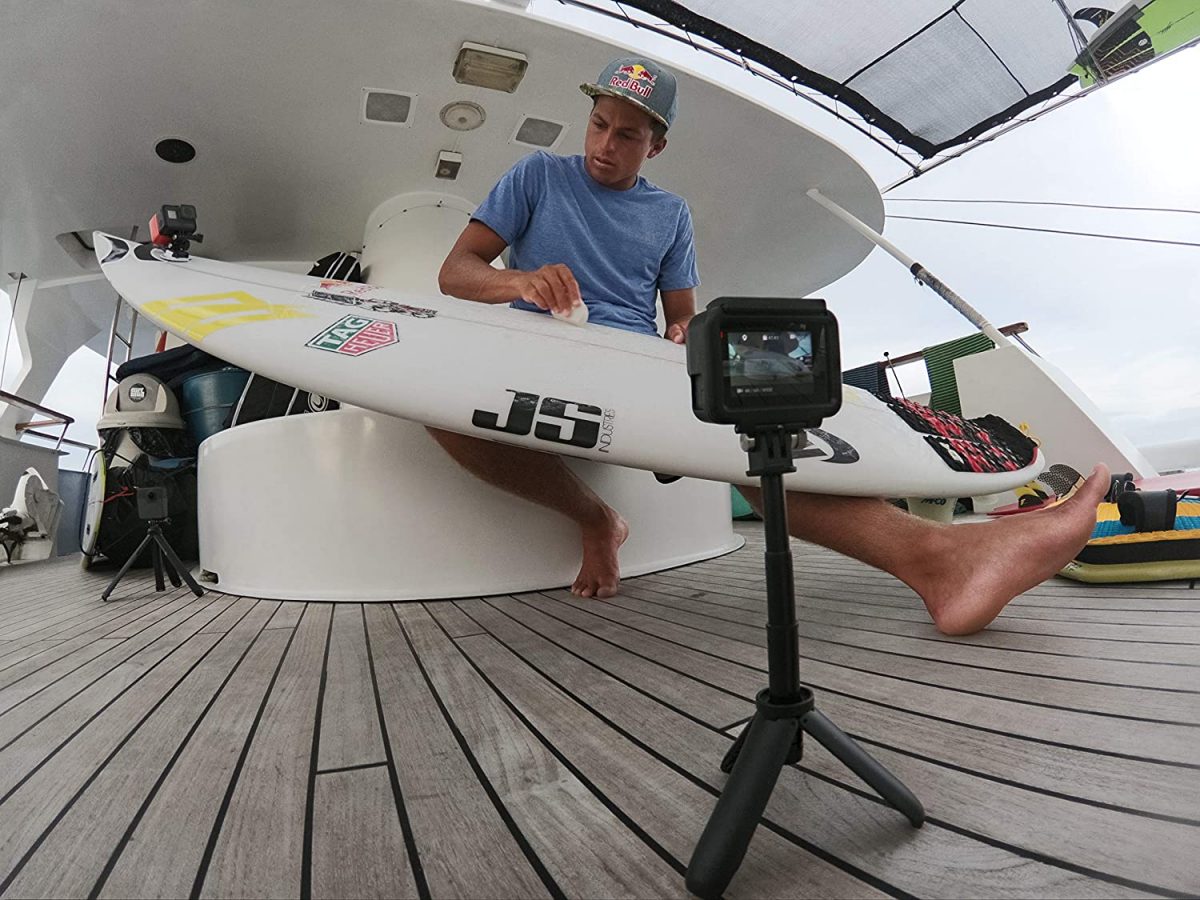
Estabiliza tu cámara
Night shots can easily get shaky, especially in low light. Use a trípode or mount to keep your GoPro steady. This ensures your footage stays smooth, even if your hands aren’t!
Lower Frame Rates = Brighter Video
For night shots, stick with 24 fps, 25 fps, o 30 fps. Lower frame rates keep the shutter open longer, meaning more light gets in. This makes your footage brighter without needing a higher ISO, which could make things grainy.
Keep ISO Low for Clear Shots
ISO controls how sensitive your camera is to light. A higher ISO brightens the image but also adds noise (the grainy stuff). Set ISO Min to 100 y ISO Max to 800—this strikes a good balance between brightness and keeping things clean. If you’re working in really low light, you can bump it up to ISO 1600, but expect more grain.

Boost Brightness with EV Comp
Want to make your night shots pop? Increase the Compensación del valor de exposición (EV Comp) a +1.0. This helps brighten your footage while staying within your ISO range, making those nighttime scenes look more vibrant.
Use SuperView for a Wider, Cleaner Shot
When shooting in low light, SuperView is your friend. It captures a wider shot and uses the entire sensor, which means less noise in your footage compared to Wide mode, which crops the image. More sensor means more light, so it’s great for low-light situations. Learn more about GoPro Hero 13 field of view>>>

Shutter Speed Matters
Always match your velocidad de obturación to your frame rate. If you’re shooting at 24 fps, set the shutter speed to 1/48s. Para 30 fps, go with 1/60s. This helps you avoid too much motion blur while still keeping things bright.
Ajustes de fotografía nocturna
Night Photo Mode on the GoPro Hero 13 opens up some awesome creative opportunities. Here are my go-to settings for different night scenarios to help you get the best possible shots:
Dark Sky With a Full, Bright Moon
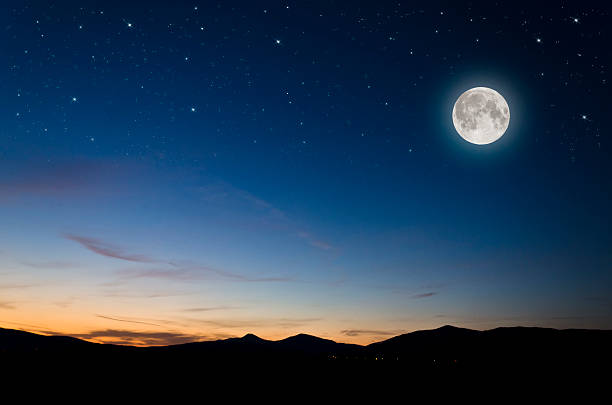 When the full moon is lighting up the sky, it’s almost like having a natural floodlight:
- Modo: Foto nocturna
- Obturador: 20s (A slightly faster shutter works better to avoid overexposure)
- ISO Min: 100
- ISO Max: 1600 (Keep ISO relatively high for those starry details, but watch for noise)
- Producción: RAW (Allows you to tweak the shot to perfection in post-processing)
Dark Sky With a Waning Moon (Facing the Moon)
When the moon is fading but still casting a soft glow, and you’re facing it, try these settings for some unique captures:
- Modo: Foto nocturna
- Obturador: 30s
- ISO Min: 100
- ISO Max: 1600 (The fading moonlight calls for similar ISO to a starry sky)
- Producción: RAW (For maximum detail when editing)
Dark Sky With a Waning Moon (Moon Behind You)
If you’re out at night with the moon behind you, its softer light can create beautiful ambient lighting:
- Modo: Foto nocturna
- Obturador: 30s
- ISO Min: 100
- ISO Max: 800 (Lower the ISO a bit for less noise, as the moon provides extra light)
- Producción: RAW (Retain those fine details in editing)
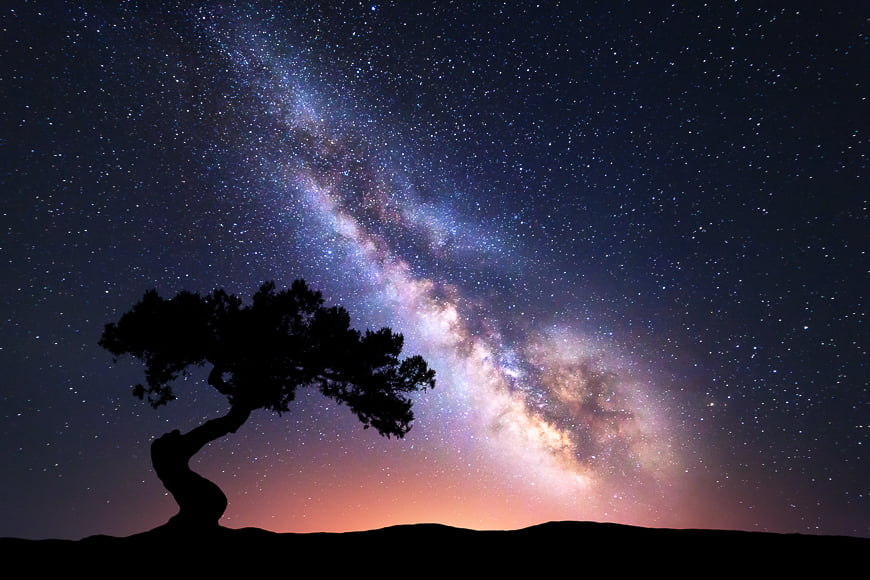
Cielo oscuro sin luna
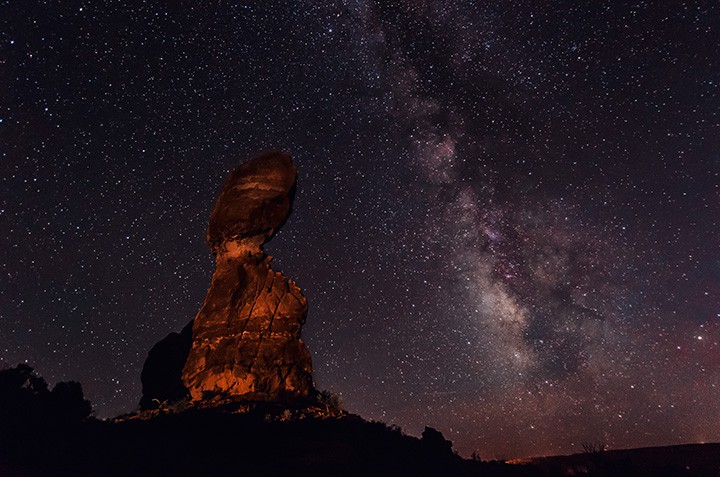
If you’re out under a clear, moonless sky filled with stars, Night Photo Mode will be your best friend.
- Modo: Foto nocturna
- Obturador: 30s (Let the shutter stay open longer to capture more light from those stars)
- ISO Min: 100
- ISO Max: 1600 (Keep the ISO up but not too high to avoid too much noise)
- Producción: RAW (More flexibility in editing later)
Pro Tip: Shoot in RAW
disparar en RAW gives you so much more control when editing. RAW files capture way more data than JPEGs, which means you can adjust the exposure, brightness, and color without losing quality. It’s a game-changer for night photography, especially when you’re trying to balance the dark sky with any light sources like the moon.
GoPro Hero 13 Night Lapse Effects
lapso de noche on the GoPro Hero 13 is a specialized mode designed to capture stunning time-lapse videos in low-light conditions, like the night sky, cityscapes, or any dimly lit environment.
It allows you to capture beautiful long-exposure shots over time, creating dramatic sequences of events like star trails, traffic, or other nighttime movements.
Unlike standard time-lapse, which works best in daylight or well-lit environments, lapso de noche optimizes your camera for low-light settings, adjusting the exposure time to let in more light without overexposing your footage.
How to Set Up Night Lapse on GoPro Hero 13
Open the Settings
Turn on your GoPro Hero 13 and swipe down to access the Ajustes.
Select Night Lapse Mode
Swipe through the available shooting modes and tap on lapso de noche. This mode is specifically designed for low-light environments.
Adjust Shutter Speed
The shutter speed controls how long the camera sensor is exposed to light. For night lapse, longer shutter speeds (like 10, 15, 20, or 30 seconds) allow more light in. For star trails or capturing the night sky, choose 30 segundos to maximize light exposure. For a city at night, you might want a faster shutter speed like 10 segundos to avoid overexposure from artificial lights.
ISO Settings
Adjusting the ISO is crucial for low-light shooting. Set the ISO Min to 100 to minimize noise, and experiment with the ISO Max settings. For starry skies, ISO Max 800 is a good balance between capturing enough light and avoiding too much grain. For more lighted environments, like urban areas, consider a lower ISO max to avoid noise.
Interval Settings
The interval determines how often your GoPro takes a photo. If you’re capturing fast-moving lights, such as city traffic, choose a shorter interval (like 2 or 5 seconds). For slow-moving subjects like stars, opt for a longer interval, such as 10 to 30 seconds.
Choose the Right Resolution
GoPro offers different resolutions for Night Lapse, like 4K o 5.3K. Higher resolutions capture more detail, which is essential when you want to create high-quality time-lapse videos. 5.3K is ideal for capturing wide views of starry skies or cityscapes.
Equilibrio de blancos
Set the white balance to Auto to let your GoPro Hero 13 adjust the color temperature based on the scene’s lighting. However, if you prefer manual control, you can set it to 3000K for warmer tones or 6500K for cooler tones, depending on the look you want.
Salida
Seleccione RAW format for Night Lapse photography if you want the flexibility to edit and adjust your photos during post-production. RAW format retains more image data, allowing for detailed editing, especially important in low-light conditions.
Night Lapse Special Modes
Night Lapse is a fantastic feature for creating creative, long-exposure videos at night. You can capture some incredible effects like estelas de estrellas, senderos ligeros para vehículos...y... light painting. Let’s break down what each of these is and how you can set your GoPro Hero 13 to capture them:
Senderos de estrellas

Estelas estelares are the streaks of stars across the sky that appear when you capture the Earth’s rotation over time. You’ll see the stars moving in beautiful arcs or circles.
Settings for Star Trails:
- Modo: lapso de noche
- Obturador: 30 seconds (to capture more light from stars)
- ISO Min: 100
- ISO Max: 800 (helps avoid too much noise while still gathering light)
- Intervalo: 30 seconds to 1 minute (to capture enough frames without overwhelming your memory card)
- Resolución: 4K or 5.3K (higher resolution captures more detail in the sky)
- Balance de blancos: Auto or 3000K (for cooler, nighttime colors)
Set your camera in a stable position (tripod is essential) and aim at a clear, dark sky with minimal light pollution. Over several hours, your GoPro will capture the stars moving across the sky, creating beautiful arcs.
Senderos de luz de vehículos

Vehicle light trails are those beautiful streams of light created by cars moving through a scene. The headlights and taillights leave glowing trails as the vehicles move, creating a dynamic and eye-catching effect.
Settings for Vehicle Light Trails:
- Modo: lapso de noche
- Obturador: 10-20 seconds (shorter exposure works well in urban settings where there’s already a lot of light)
- ISO Min: 100
- ISO Max: 400-800 (depending on the amount of light available)
- Intervalo: 2-5 seconds (to capture a good number of light trails)
- Resolución: 4K (high quality to capture details of the city or road)
- Balance de blancos: Auto or 4500K (for natural street lighting)
Position your GoPro next to a busy street or highway at night. As cars drive past, their lights will leave glowing streaks in your footage. This works especially well on curvy roads or busy intersections where the trails overlap.
Pintura de luz
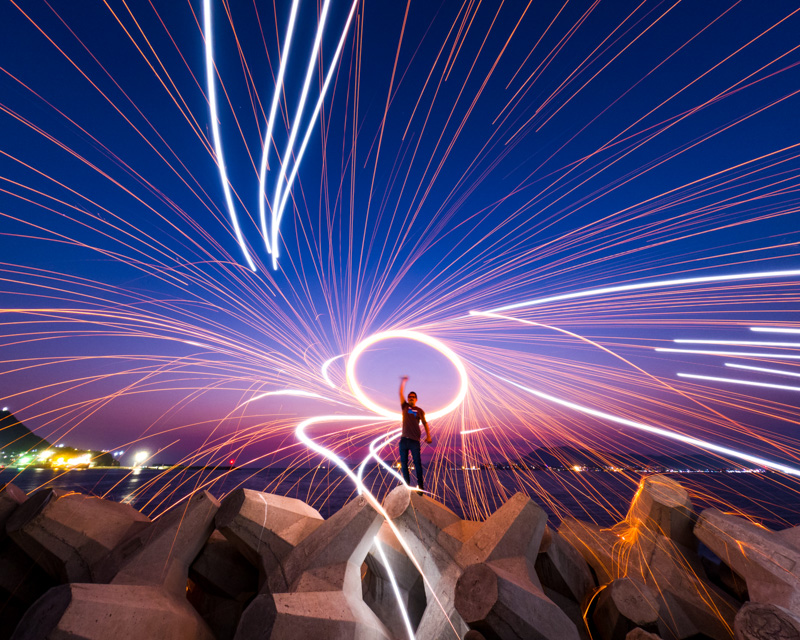
Light painting involves moving a light source in front of the camera to create unique, glowing patterns or “paintings” in the air. This is often done with flashlights, glow sticks, or any other light source that can be easily controlled.
Settings for Light Painting:
- Modo: lapso de noche
- Obturador: 20-30 seconds (to capture long movements of the light)
- ISO Min: 100
- ISO Max: 400 (to avoid introducing noise while keeping the image dark)
- Intervalo: 1-2 seconds (quick intervals to capture continuous movement)
- Resolución: 4K (to get sharp, detailed patterns)
- Balance de blancos: Auto or 3000K (depending on the light color you’re using)
Hold a flashlight or any bright light source and move it in front of your GoPro Hero 13 while it captures long-exposure shots. You can write words, draw shapes, or just wave it around to create stunning light trails. This is a fun and creative way to play with light and color.
My Final Recommendation
For longer shoots, connect your GoPro to a power source or carry spare batteries to avoid running out of juice mid-shot.
The Hero 13 also comes with the improved batería de enduro, which can be charged while filming—so a power bank can be a handy companion for extended sessions.
Just keep in mind that the new Enduro battery has a unique design and won’t fit older GoPro models, and their batteries won’t work with the Hero 13 either.
Más GoPro Hero 13 settings are here>>>
Compartir es cuidar ❤️
I hope this guide helped you learn about all the GoPro Hero 13 Night Lapse settings. 🙂
¡Gracias por leer!
Si este artículo le ha sido útil, por favor compártelo en las redes sociales con su familia y amigos!