

If you’ve just gotten your brand-new GoPro Hero 13 and are feeling a bit confused about the die besten Einstellungen to use, don’t worry—you’re in the right place!
I understand how frustrating it can be to start using a new camera and not get the results you were hoping for.
That’s why I’ve put together this guide with the best settings for video, photo, time-lapse, and TimeWarp for every situation.
Beste Videoeinstellungen


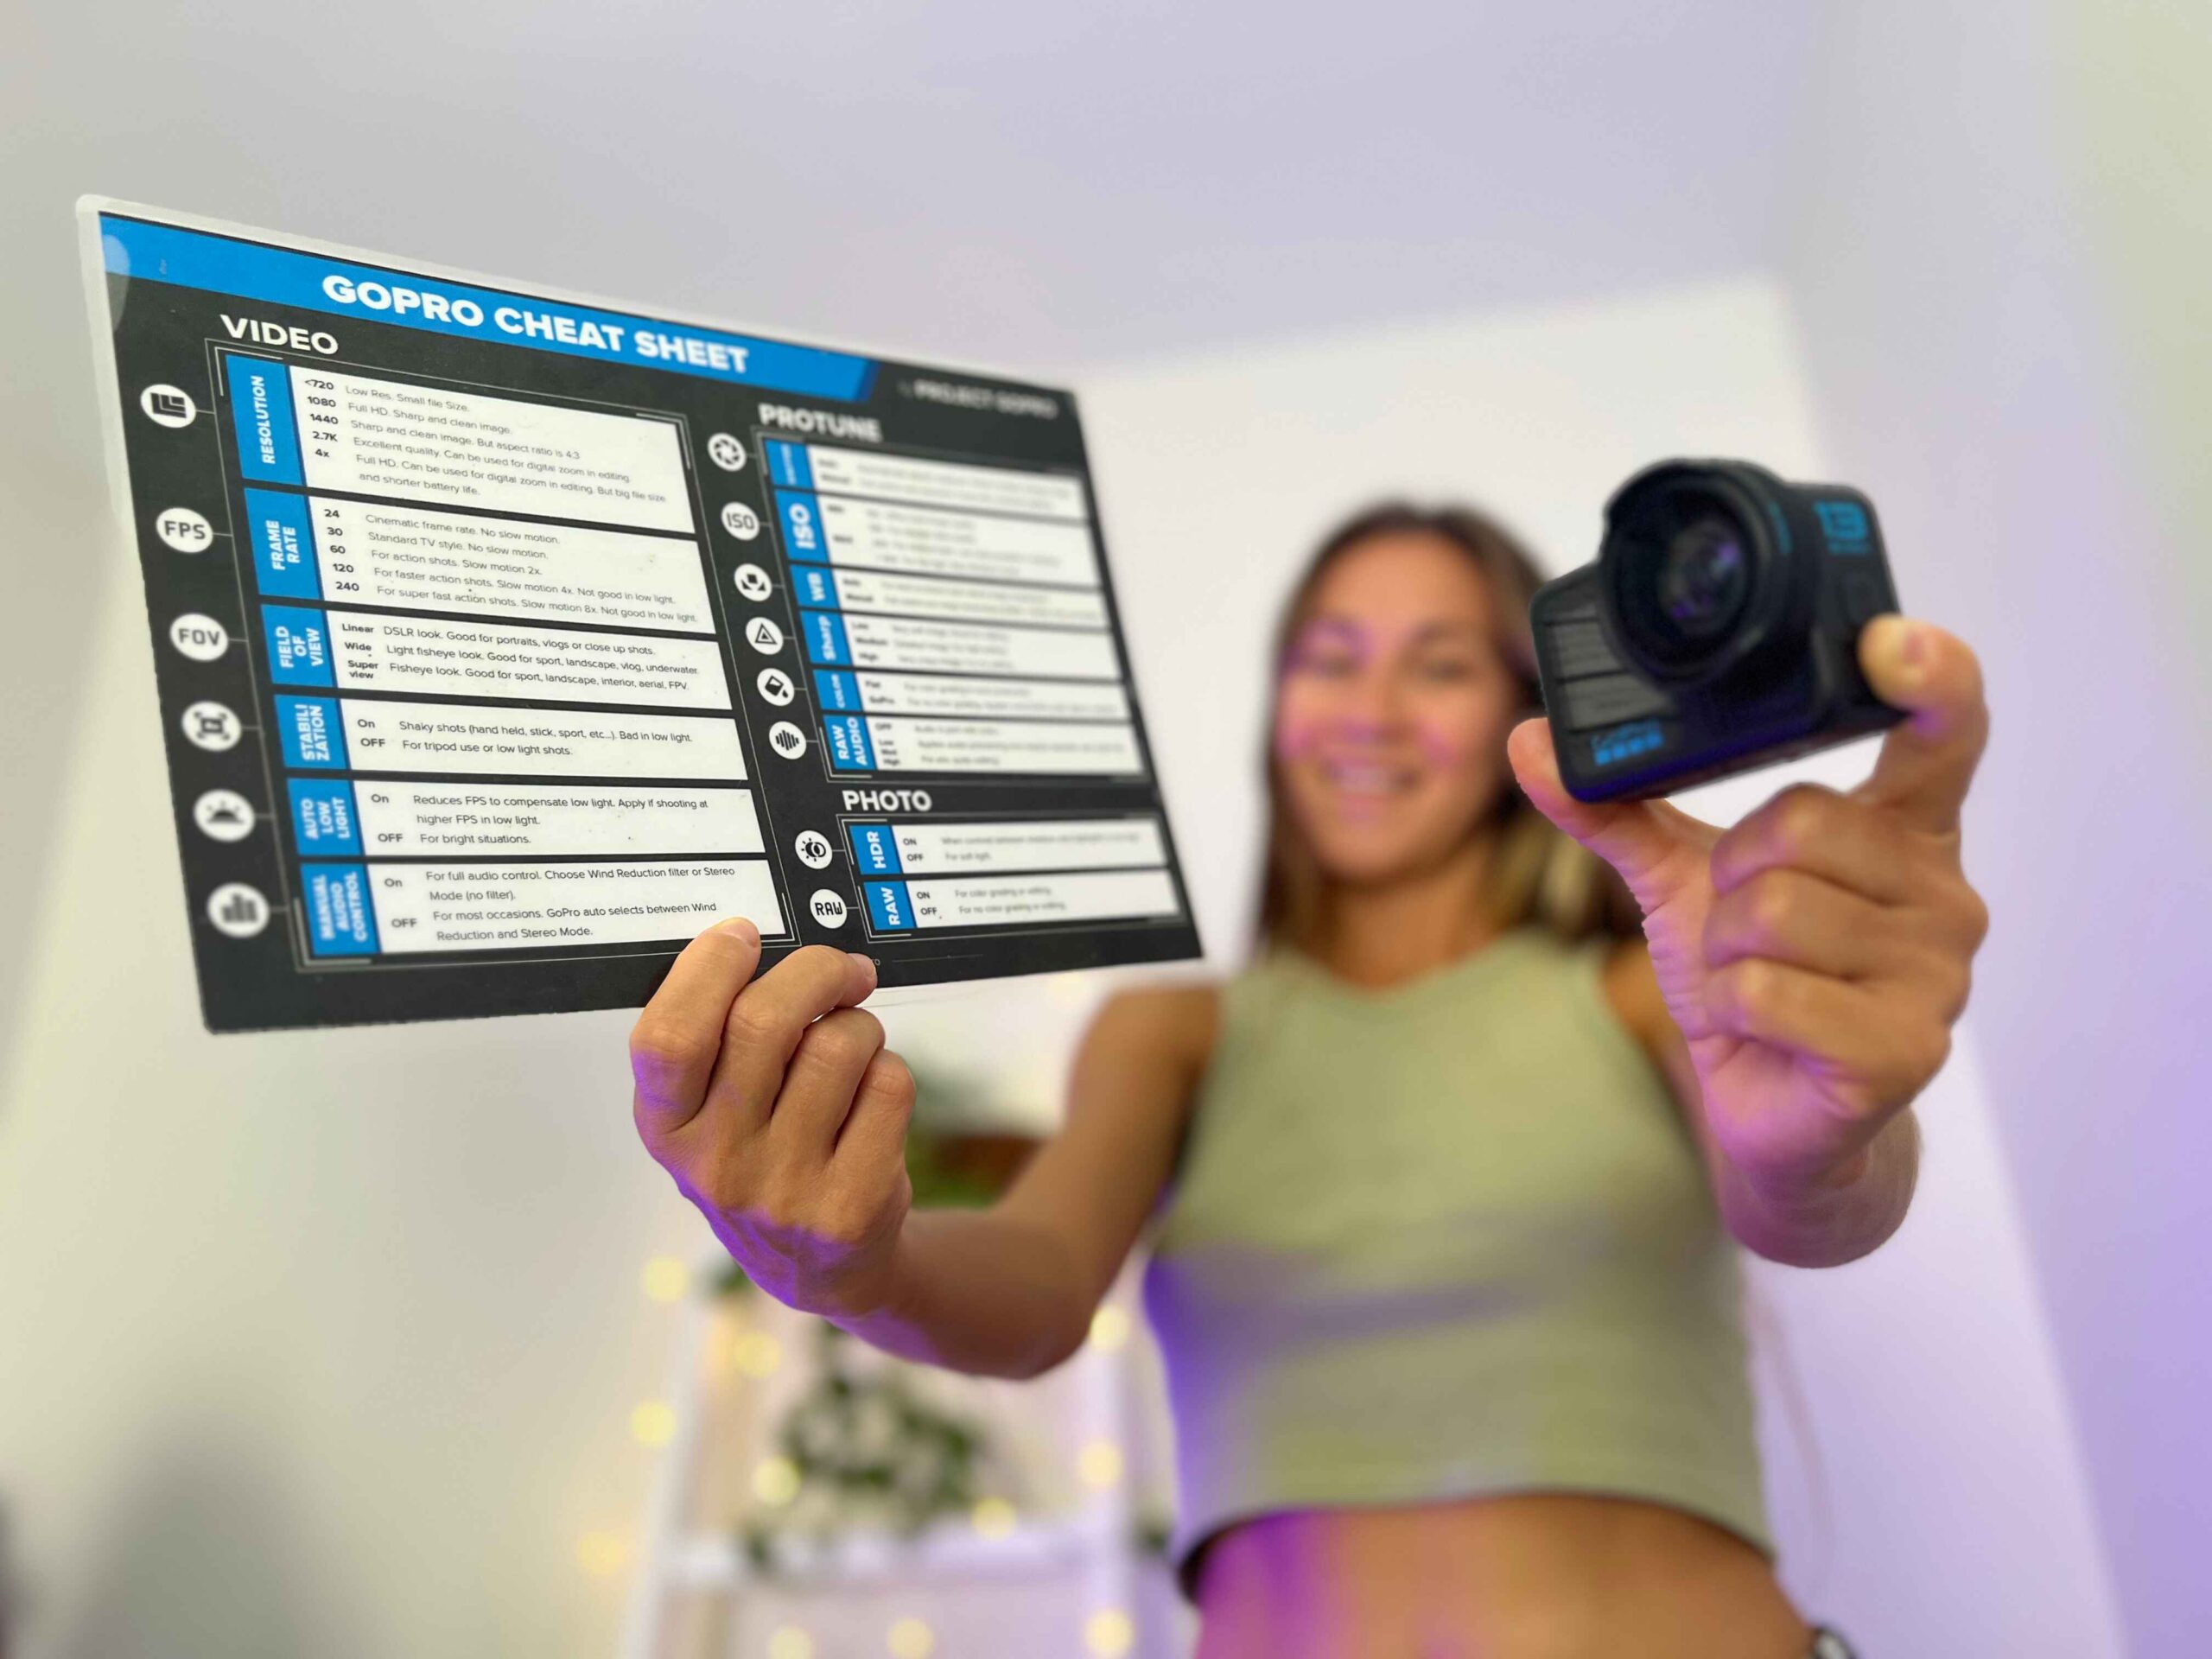
Best Video Settings Cheat Sheet
Here you’ll learn how to adjust your settings depending on what you’re planning to film:
Reisen
These settings are the best for capturing detail and ensuring stabilization:
- Auflösung: 5.3K at 30fps
- Aspect Ratio: 16:9
- Linse: Wide, Linear, Linear + Horizon Lock
- HyperSmooth: An
POV
- Auflösung: 4K 8:7 at 60fps
- Aspect Ratio: 8:7, 4:3, or 16:9
- SuperView | 4K at 120fps SuperView | 2.7K 4:3 at 120fps
- Linse: HyperView, SuperView, or Wide
- HyperSmooth: On or Auto Boost
Low Light/Night/Indoor
GoPro is not the best camera for filming in the situations with low light, like indoors or at night. These settings provide the best noise reduction and detail:
- Auflösung: 4K bei 30fps
- Aspect Ratio: 16:9
- Linse: Weit
- HyperSmooth: An
Vlog
For optimal detail and stabilization, use the following settings:
- Auflösung: 5.3K at 30fps
- Aspect Ratio: 16:9
- Linse: Wide, Linear, or Linear + Horizon Lock
- HyperSmooth: An
Filmisch
For the best quality and cinematic effect (especially if you’re planning to use 2x slow-motion), use the following settings:
- Auflösung: 5.3K at 60fps | 5.3K at 60fps SuperView
- Aspect Ratio: 16:9
- Linse: SuperView, Wide, or Linear
- HyperSmooth: On or Auto Boost
Zeitlupe
For pronounced 4x slow-motion and higher, use these settings:
- Auflösung: 4K at 120fps | 4K at 120fps SuperView
- Aspect Ratio: 16:9 or 4:3
- Linse: Wide or Linear (for better stabilization)
- HyperSmooth: An
Post-Production
If you plan to do post-production, these settings will give you the most flexibility. Shooting in 8:7 captures the “rawest” footage, using the full sensor and native lens. This allows for easy adjustments, like lens correction or cropping, during editing.
- Auflösung: 5.3K 8:7 at 30fps | 4K 8:7 at 60fps
- Aspect Ratio: 8:7
- Linse: Weit
- HyperSmooth: An
Zeitraffer-Modi
The GoPro Hero 13 has a bunch of cool time-lapse modes to capture those stunning, fast-forward moments. Here’s a quick look at your options:
Zeitraffer-Video
For general time-lapse shots, like clouds moving or cityscapes.
- Resolutions: 5.3K, 4K, 1080p
- Lenses: Weit, Linear
- Aspekt-Verhältnisse: 16:9, 8:7


TimeWarp
Perfect for smooth, fast-paced videos while you’re on the move.
- Resolutions: 5.3K, 4K, 1080p
- Lenses: Breit, Linear, Linear + Horizontnivellierung
- Aspekt-Verhältnisse: 16:9, 9:16, 8:7
Learn the difference between Time Lapse & Timewarp here>>>
Nachtzeitraffer-Video
Ideal for capturing low-light scenes like nighttime cityscapes or stars.
- Resolutions: 5.3K, 4K, 1080p
- Lenses: Weit, Linear
- Aspekt-Verhältnisse: 16:9, 8:7


Sternspuren
Capture beautiful, streaking stars in the night sky.
- Resolutions: 5.3K, 4K
- Lenses: Weit
- Aspekt-Verhältnisse: 16:9, 8:7


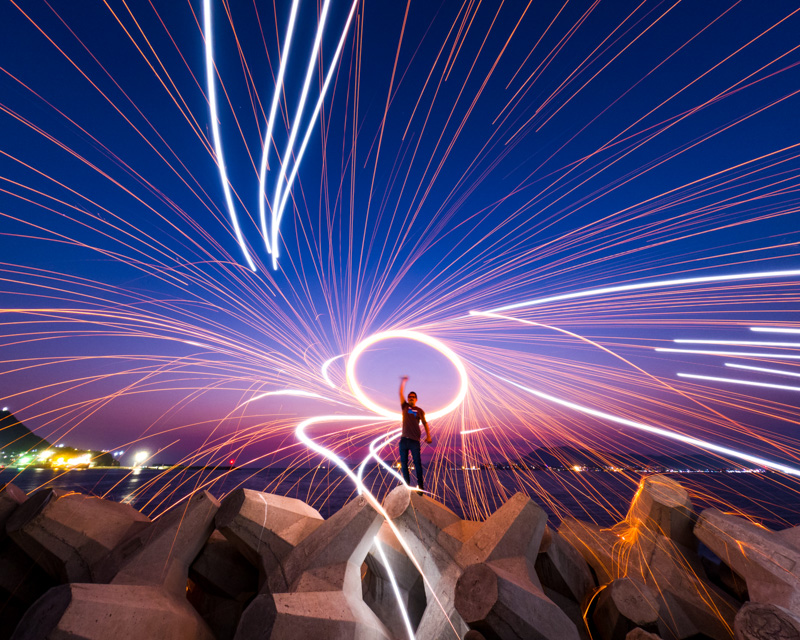
Lichtmalerei
Get creative and capture cool light patterns.
- Resolutions: 5.3K, 4K
- Lenses: Weit
- Aspekt-Verhältnisse: 16:9, 8:7

Fahrzeuglichtspuren
Perfect for capturing moving car lights at night.
- Resolutions: 5.3K, 4K
- Lenses: Weit
- Aspekt-Verhältnisse: 16:9, 8:7


Time Lapse Intervals
When setting up time-lapse shots, the interval is key. It controls how often your camera takes a photo, which affects how smooth or fast your final video looks. Here’s what you can do:
- Quick Intervals (0.5 to 2 seconds): Great for fast-paced action, like biking or surfing.
- 2-second Interval: Ideal for busy spots, like street corners.
- 5 to 10 seconds: Use these for capturing slower movements, like clouds rolling by.
- 10 seconds to 1 minute: For longer projects like sunrises or construction work.
- 1 minute to 1 hour: Perfect for super long-term projects like documenting growth over time.
Zeitrafferintervalle bei Nacht
For shooting at night, you’ll also have interval options. Here are some examples to help you choose:
- Auto: Let the camera decide the best interval based on your shutter settings.
- 4 to 5 seconds: Great for night scenes in the city or with some light movement.
- 10 to 15 seconds: Use for slowly moving clouds or nighttime skies with some brightness.
- 20 to 30 seconds: Best for very slow changes, like stars moving in a dark, clear sky.
Beste Fotoeinstellungen
These are the settings you should have in mind if you’re planning to take photos with your Hero 13:
SuperPhoto
Die SuperPhoto feature on your GoPro Hero 13 takes your photos up a notch by automatically choosing the best settings for each shot. It works like a smart assistant, analyzing things like lighting and movement to give you the best possible results.
SuperPhoto has three options:
- HDR (High Dynamic Range): Combines multiple photos into one to capture great detail in tricky lighting, like scenes with both bright areas and shadows.
- Multi-Frame-Rauschunterdrückung: Merges multiple shots into one to reduce noise, making your images cleaner and sharper, especially in low light.
- Standard-Foto: Enhances details and contrast in your shots, giving you well-balanced photos in most situations.


Burst-Rate
Want to capture fast action? The Hero 13’s Burst-Modus can take multiple photos in rapid succession. Here are the available burst options:
- Auto, 60 photos in 6 or 10 seconds, oder 30 photos in 1, 3, or 6 seconds.
- You can also choose from 10 photos in 1 or 3 seconds, oder sogar 5 photos in 1 second for super quick action.
The camera will automatically adjust the burst rate depending on the lighting to make sure your photos look great.


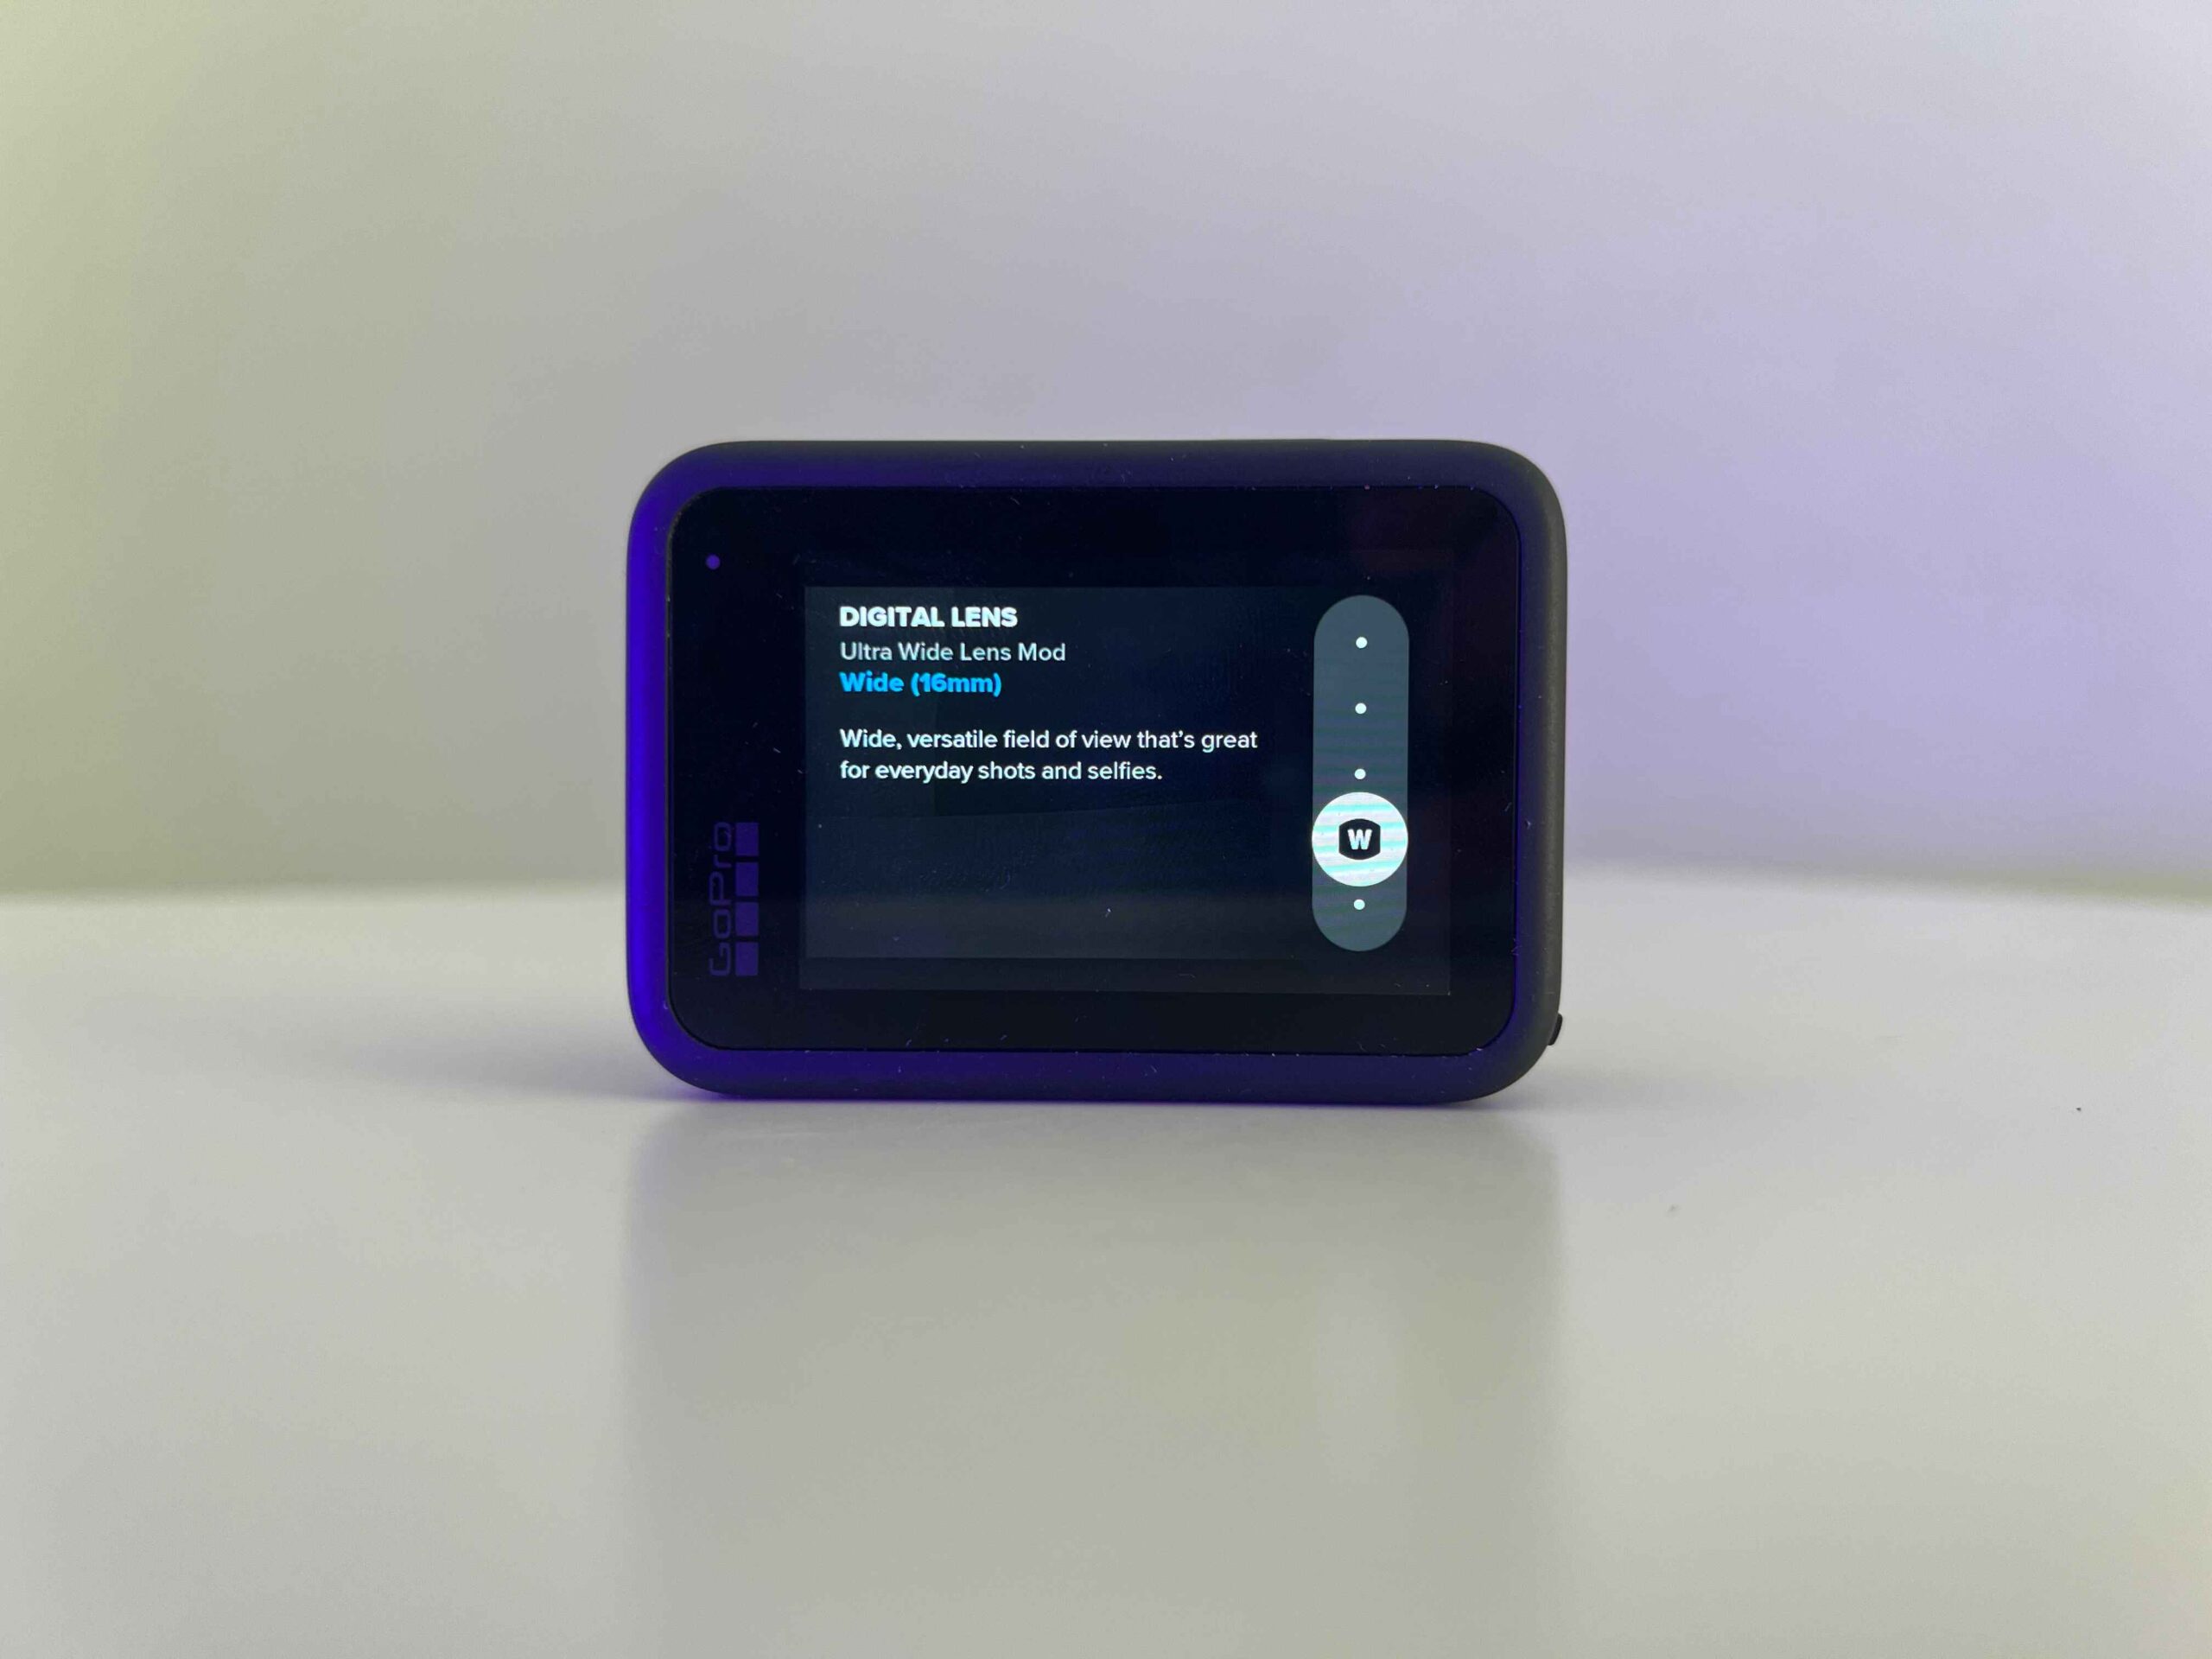
Digital Lenses (Photos)
GoPro’s digital lenses allow you to control the zoom and how much of the scene you capture in your photos:
- Weit (16-34 mm): A broad view to capture more of the scene in your shot.
- Linear (19-39mm): A wide view without the fisheye effect, perfect for landscapes and scenery.
Profi-Tipp: Looking for an even wider view? The Max Lens Mod 2 provides an ultra-wide 155° lens, and with the new Ultra Wide Lens, you can push the field of view (FOV) to an impressive 177°. This gives you a view that’s 36% wider and 48% taller than what you can capture with the standard lens.
RAW-Format
If you want more control over editing your photos later, enable RAW-Format. This saves two files: a .jpg for easy sharing, and a .gpr file, which is based on Adobe’s DNG format, giving you more editing flexibility in programs like Adobe Camera Raw or Lightroom.
Just keep in mind that using RAW disables SuperPhoto and zoom, and certain shooting modes have specific time intervals for RAW photos.
Best Photo Setting Cheat Sheet
For general use, these settings will work well in most situations.:
- Aspect Ratio: 8:7, 4:3, or 16:9 (depending on your composition needs)
- Auflösung: Choose 27MP for the highest quality photos. If shooting in RAW, use the 8:7 aspect ratio for maximum sensor usage.
- Linse: Wide (16–34mm) or Linear (19–39mm). The wide lens is great for landscapes or action, while the linear lens removes the fisheye effect for more natural shots, like portraits.
- SuperFoto: On for automatic image processing. This adjusts HDR and noise reduction based on the lighting to ensure you get the best result.
- RAW Format: Use this for more advanced editing flexibility. It saves photos as both .jpg and .gpr, allowing for better post-processing options in apps like Lightroom.
- Burst Mode: For action shots, set burst mode to capture multiple images quickly (e.g., 30 photos in 1 second) to ensure you capture the perfect moment.
- ISO: Set ISO between 100-800 for the best balance of brightness and minimal noise.
- Schärfe: Keep sharpness on medium for general use.
Keep in mind that for low-light conditions, you’ll need to adjust the settings to reduce noise as much as possible. You can find the recommended low-light settings in the video settings cheat sheet section.
Pro Tips for Maximizing GoPro Hero 13 Performance

These are the tips that I find extremely useful:
- Always shoot in high resolution (4K or above) if storage allows—it’s easier to downscale footage than to upscale later.
- Use a high-speed memory card (UHS-I U3) to avoid buffering or missed shots.
- Regularly clean the lens to avoid blurry footage from dirt or water droplets.
- Update firmware regularly to access the latest features and bug fixes.
Vielen Dank fürs Lesen! 🙏
I hope this guide helped you learn about the best settings for the GoPro Hero 13 🙂
Sharing is Caring ❤️
Wenn Sie diesen Artikel nützlich finden, teilen Sie ihn doch bitte mit Freunden und Familie auf Social Media mit deiner Familie und deinen Freunden!